




How do I lubricate the moving parts of a pancake batter dispenser?
 Jul 28, 2025|
 As a provider of pancake batter dispensers, I understand the importance of proper maintenance to ensure the longevity and efficient operation of these essential kitchen tools. One crucial aspect of maintenance is lubricating the moving parts of the dispenser. In this blog post, I'll share some insights on how to lubricate the moving parts of a pancake batter dispenser effectively.
Understanding the Moving Parts
Before we dive into the lubrication process, it's essential to have a basic understanding of the moving parts in a pancake batter dispenser. Typically, these dispensers have components such as pistons, valves, levers, and gears that work together to dispense the batter accurately. These parts are subject to friction and wear over time, which can lead to decreased performance and potential breakdowns.
Choosing the Right Lubricant
Selecting the appropriate lubricant is the first step in the lubrication process. When dealing with kitchen equipment, it's crucial to choose a food - grade lubricant. Food - grade lubricants are specifically designed to be safe for use in environments where they may come into contact with food. They are non - toxic, odorless, and tasteless, ensuring that they won't contaminate the pancake batter.
There are different types of food - grade lubricants available, including silicone - based, mineral - oil - based, and synthetic lubricants. Silicone - based lubricants are a popular choice for pancake batter dispensers because they offer excellent lubrication properties, are resistant to water and high temperatures, and have a long service life. Mineral - oil - based lubricants are also widely used and are relatively inexpensive. Synthetic lubricants, on the other hand, provide superior performance in terms of temperature resistance and anti - wear properties but can be more costly.
Preparing the Dispenser for Lubrication
Before applying the lubricant, it's important to clean the moving parts of the pancake batter dispenser thoroughly. Use a mild detergent and warm water to remove any batter residue, grease, or dirt from the components. Make sure to dry the parts completely to prevent water from mixing with the lubricant, which can reduce its effectiveness.
Disassemble the dispenser carefully according to the manufacturer's instructions. This will give you better access to all the moving parts and ensure that you can apply the lubricant evenly. Keep track of all the parts and their positions to make reassembly easier.
Lubricating the Moving Parts
- Pistons and Valves: These are critical components in a pancake batter dispenser as they control the flow of the batter. Apply a small amount of lubricant to the piston rod and the valve stem. Use a clean cloth or a small brush to spread the lubricant evenly over the surface. Make sure to lubricate the seals around the pistons and valves as well, as these are also prone to wear and can cause leaks if not properly lubricated.
- Levers and Gears: Levers and gears are responsible for the mechanical operation of the dispenser. Apply a thin layer of lubricant to the pivot points of the levers and the teeth of the gears. Be careful not to over - lubricate, as excess lubricant can attract dirt and debris, which can cause more problems in the long run.
- Moving Joints: Any joints or connections that allow for movement in the dispenser should also be lubricated. This includes the hinges and linkages. Apply a small amount of lubricant to these areas and work the joints back and forth to distribute the lubricant evenly.
Reassembling the Dispenser
After lubricating all the moving parts, it's time to reassemble the pancake batter dispenser. Follow the manufacturer's instructions carefully to ensure that all the parts are correctly installed. Tighten any screws or bolts to the appropriate torque to prevent any loose parts that could affect the dispenser's performance.
Testing the Dispenser
Once the dispenser is reassembled, test it to make sure that it's working properly. Fill the dispenser with a small amount of water and operate it as you would with pancake batter. Check for any signs of leaks, unusual noises, or resistance in the moving parts. If you notice any issues, disassemble the dispenser again and check for proper lubrication and assembly.
Regular Maintenance Schedule
Lubricating the moving parts of a pancake batter dispenser is not a one - time task. It's important to establish a regular maintenance schedule to keep the dispenser in optimal condition. Depending on the frequency of use, I recommend lubricating the moving parts every 1 - 3 months. This will help to prevent premature wear and tear and extend the lifespan of the dispenser.
Our Pancake Batter Dispenser Products
At our company, we offer a wide range of high - quality pancake batter dispensers to meet the needs of different customers. Our Batter Dispenser 4 Cups is perfect for small - scale operations, such as home kitchens or small cafes. It has a 4 - cup capacity and is easy to use and clean.
If you're concerned about the safety of the materials used in the dispenser, our Pancake Batter Dispenser BPA Free is an excellent choice. It's made from BPA - free materials, ensuring that your pancake batter is safe from harmful chemicals.

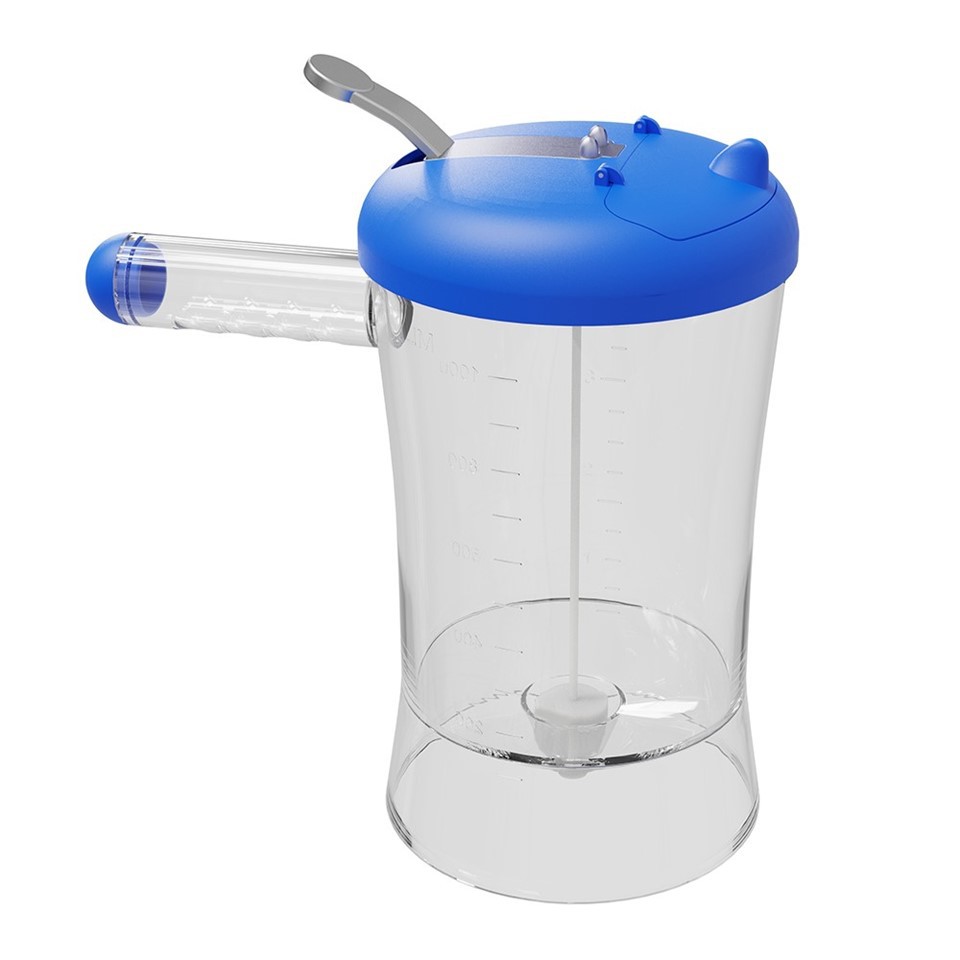
For those who need precise control over the amount of batter dispensed, our Precision Batter Dispenser is the ideal solution. It features a precision valve system that allows for accurate and consistent batter dispensing.
Contact Us for Procurement
If you're interested in purchasing our pancake batter dispensers or have any questions about their maintenance, we'd love to hear from you. Our team of experts is always ready to assist you with your procurement needs and provide you with all the information you need to make an informed decision. Whether you're a small business owner or a home cook, we have the right pancake batter dispenser for you.
References
- Food Safety Modernization Act (FSMA) guidelines on food - grade lubricants.
- Manufacturer's manuals for pancake batter dispensers.
- Industry best practices for kitchen equipment maintenance.